Recording your live stream is one of the smartest things you can do. Why? Because it lets you reuse your content. With just one recording, you can create podcasts, short clips, blog posts, and more—without starting from scratch.
It’s also a great way to reach new audiences who might not have seen your live session. Plus, by saving your stream as a video-on-demand (VOD), viewers can watch it anytime, which keeps your content working for you long after the live event ends.
In this guide, we’ll explore different ways to record your live stream: using streaming software, built-in screen capture tools, ISO recording with an encoder like YoloBox, and cloud-based platforms like YoloCast.
Record with Streaming Software
One of the most common ways to record a live stream is by using streaming software. Tools like OBS (Open Broadcaster Software) let you capture and save your stream while you’re broadcasting. This method is popular because it gives you full control over your video and audio sources, layouts, transitions, and more—all in one place.
However, using this method does come with some trade-offs. Because you’re both streaming and recording at the same time, your computer needs to have enough processing power and disk space to handle everything smoothly. If your system isn’t strong enough, it might cause lags or lower video quality.
How to Record with OBS (Open Broadcaster Software)
To get started with OBS Studio, first download and install the software from the official OBS website. Once installed, launch the program and follow the setup wizard—it will guide you through the basic configuration for your system.
Next, head to the Settings menu and click on the Output tab. Scroll down to the Recording section, where you can review and adjust how your stream will be saved. By default, OBS records in the FLV file format. This format is more reliable if your broadcasts are prone to sudden crashes or interruptions. FLV files are more crash-resistant, which means you won’t lose your entire recording if something goes wrong mid-stream.
However, FLV files aren’t always ideal for editing or sharing. If your stream is usually stable and doesn’t crash, it’s better to switch the format to MP4 for easier playback and editing. Just keep in mind that if you leave the setting on FLV, you’ll need to convert it to MP4 later using tools like HandBrake.
Once your recording settings are ready and your stream is set up, go back to the main OBS dashboard and click Start Recording. OBS will begin capturing your live stream. When you’re done, simply hit Stop Recording, and the video file will be saved to your chosen folder.
This method gives you a high-quality copy of your stream that you can edit, repurpose, or upload to other platforms whenever you like.
Record with Built-In Screen Capture Tools
If you’re looking for a simple way to record a live stream, using the built-in screen recording tools on your device can be a great option.
It won’t give you the advanced features of OBS or YoloCast, but if you’re streaming from your browser or a simple platform, it can do the job just fine.
How to Use Screen Recording on Mac
- Press Command + Shift + 5 to open the screen recording toolbar.
- Choose whether to record the entire screen or just a selected window.
- Click “Options” to choose your microphone input and where to save the file.
- Hit the “Record” button to start.
- When you’re done, click the stop icon in the top menu bar.
Your recording will be saved as a .mov file, and you can find it on your desktop or in the folder you selected.
How to Use Screen Recording on Windows PC
If you’re using Windows 10 or later:
- Press Windows + G to open the Xbox Game Bar.
- Click on the “Capture” option.
- Press the record button to start recording your screen.
- When done, click stop, and the file will be saved under your Videos > Captures folder.
These tools are great for quick recordings but come with limitations in customization and quality control. Still, for casual users or backup purposes, they work really well.
Record with YoloBox ISO Recording
If you’re using a YoloBox for your live streaming, good news—it supports ISO recording, which lets you record the live stream directly on the device itself. Even better, if you’re broadcasting in 4K (YoloBox Extreme), you can also record in 4K, preserving the highest quality for later use.
What to Know About YoloBox ISO Recording
Using YoloBox’s ISO recording is super convenient because it lets you record without needing a separate computer or software. But you do need to plan ahead:
- 4K recording takes up a lot of space, so use a high-capacity SD card (at least 128GB or more).
- Recording in high quality may also increase CPU usage on the YoloBox, especially during long sessions. So if you’re streaming for hours, consider lowering the resolution a bit or checking your CPU usage regularly.
Recording Live Streams with YoloCast
Auto Recording and Instant Access
YoloCast makes recording your live streams effortless with its built-in auto-recording feature. Once your livestream ends, the platform automatically saves a full-quality recording to your personal Media Center. There’s no need to hit any extra buttons or transfer files manually—everything is captured and stored in the cloud, ready for instant access. You can immediately publish the video, trim key moments, and even add English subtitles directly within the platform.
Simulated Live Streams from Recordings
One of YoloCast’s most powerful features is simulated live streaming, which lets you take any past recording and replay it as a fresh live event. This allows you to re-engage your audience with pre-recorded content that appears live in real time. It’s a great way to maximize the value of your content without hosting a new live session.
Multistream and Share Anywhere
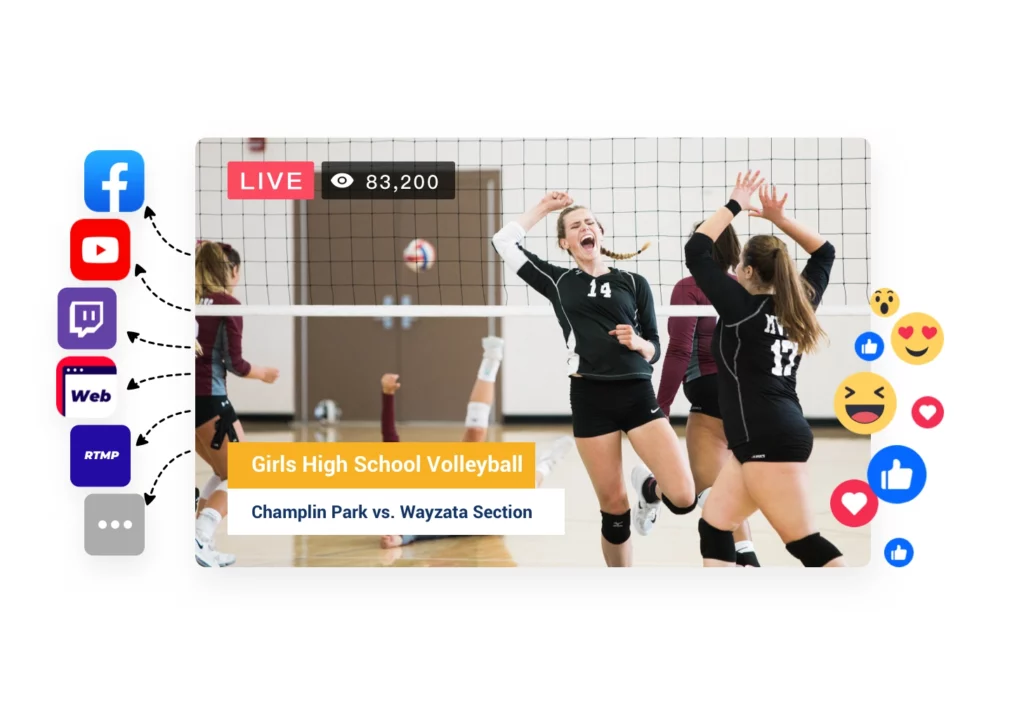
The platform also supports multistreaming, so you can distribute your recorded content across multiple platforms like YouTube, Facebook, and Twitch with just a few clicks. If you want to embed your recordings on your website, YoloCast gives you that option too, allowing for seamless video-on-demand playback. You can also share recordings via direct URLs on social media or email, download them as MP4 files, and even send them directly to clients or collaborators.

What truly sets YoloCast apart is its flexible storage policy. Unlike many other platforms, there are no time-based restrictions on how long your recordings stay online. As long as your account’s storage plan has space, your content is safe, reusable, and available whenever you need it. This makes YoloCast an all-in-one solution for creators and organizations who want to record, manage, and repurpose their livestreams with maximum efficiency and zero hassle.
Conclusion
Recording your live stream isn’t just a “nice-to-have” anymore—it’s essential. Whether you’re trying to build your content library, reach a wider audience, or simply create more value from each broadcast, saving your streams opens the door to countless opportunities.
The best part is, there’s a solution for every type of streamer. If you want full control and high-quality output, streaming software like OBS is a strong choice. If you’re looking for something simpler, built-in screen recorders on your Mac or PC can do the job with minimal effort. For hardware-based streaming, YoloBox ISO recording gives you power and portability. And if you’re ready to go pro with cloud automation and multistreaming, YoloCast is the platform that can handle it all.
The key is to pick the method that matches your setup and goals. No matter which route you take, having your streams recorded means you’re never wasting content—it’s always ready to be shared, edited, or repurposed again and again.
20,539 total views, 55 views today

Hailey, a Customer Success Specialist at Yololiv, she brings immense enthusiasm to assisting users in understanding the various features of YoloCast and resolving any usage-related issues they may encounter. Alongside her support efforts, she also curates articles sharing tips, troubleshooting advice, and other helpful insights to enhance users’ experience with YoloCast.


